Faulty window hinges can turn opening and closing your windows into a proper nightmare. Whether you’re a homeowner dealing with stiff casement windows or a business owner maintaining commercial premises, replacing window hinges is often the most effective solution to restore smooth operation and enhance security.
Understanding When Window Hinge Replacement
Window hinges endure constant stress from daily use, weather conditions, and time itself. Common signs indicating you need to consider replacing window hinges include difficulty opening or closing windows, visible rust or corrosion, gaps between the window frame and sash, or hinges that have become loose despite tightening screws.
Modern UPVC windows typically use friction hinges, whilst older timber windows often feature traditional butt hinges. The type you have will determine your approach to replacement, but the fundamental principles remain consistent across most residential and commercial properties.

Essential Tools for Window Hinge Replacement
Before starting your window hinge replacement project, gather these necessary tools:
- Electric drill with appropriate drill bits
- Screwdriver set (both flathead and Phillips)
- Measuring tape
- Pencil for marking positions
- Spirit level
- Chisel set (for timber windows)
- Safety glasses
- Work gloves
- Replacement hinges (ensure correct size and type)
- Screws (typically provided with new hinges)
- Sandpaper (medium grit)
- Wood filler (for timber windows if needed)

Step-by-Step Guide to Replacing Window Hinges
Step 1: Remove the Window Sash
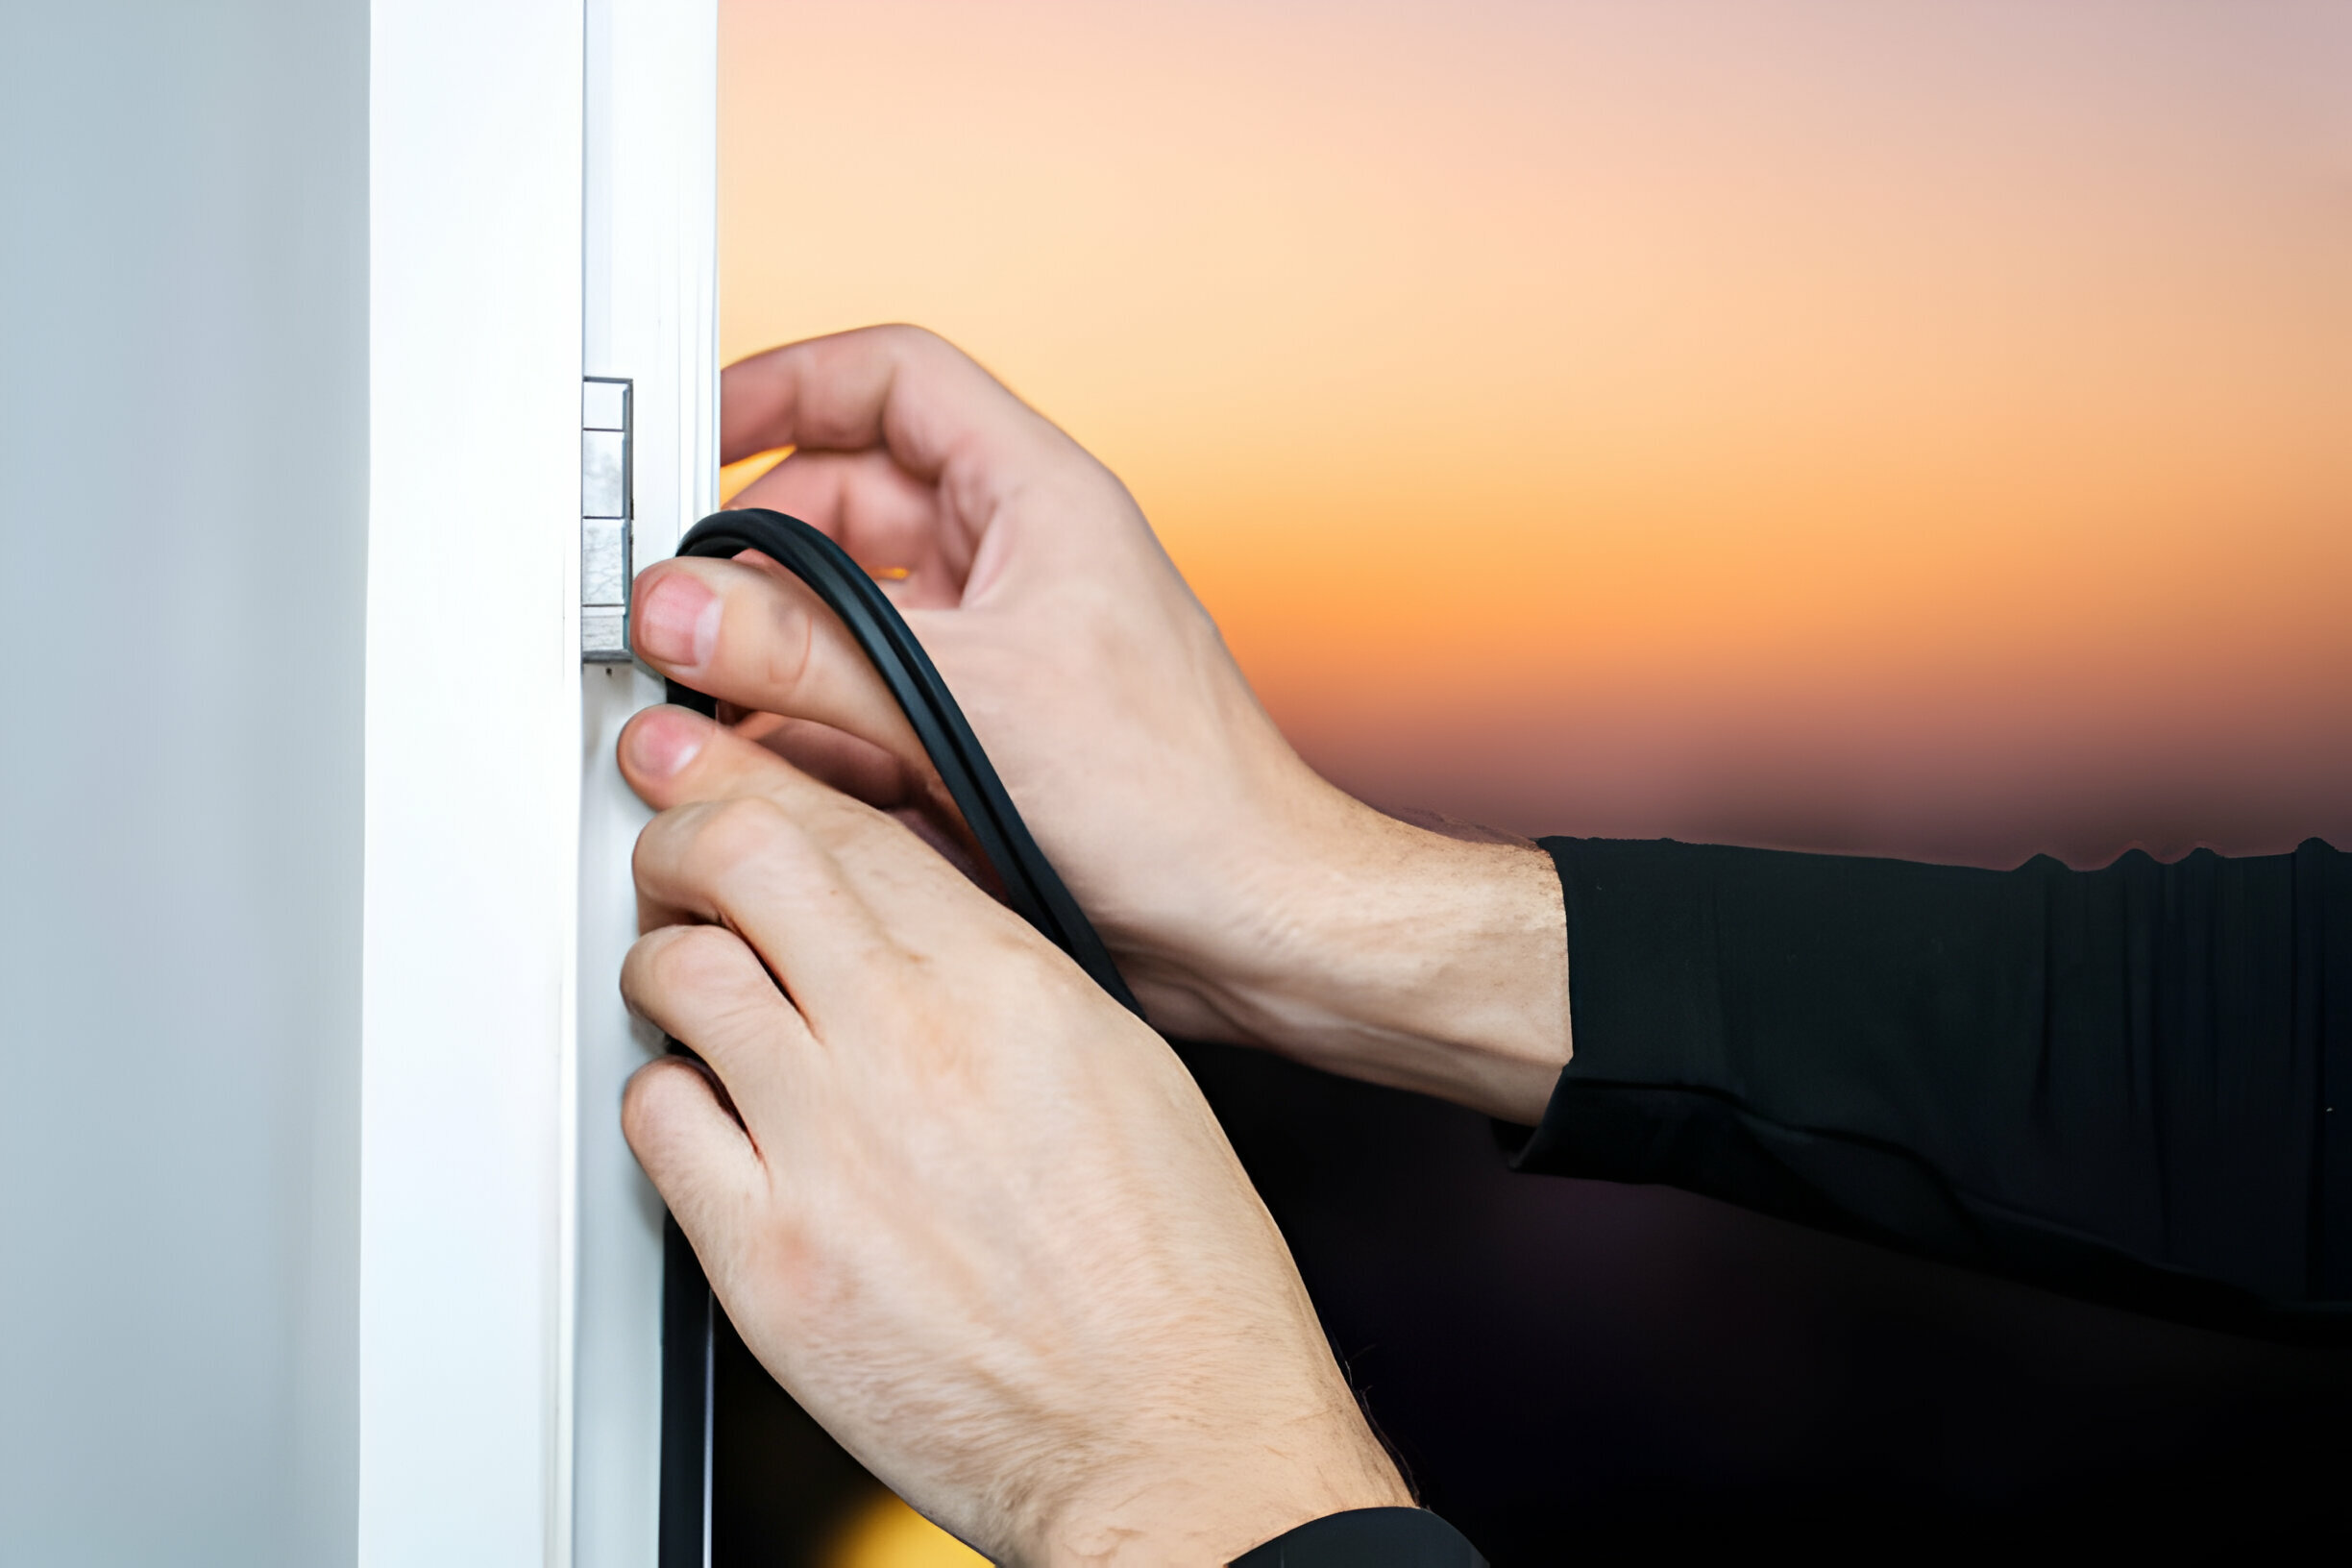
Put on your safety glasses and work gloves before starting. Fully open the window to access the hinges properly. For UPVC windows, you’ll typically need to push the sash away from the frame whilst lifting slightly to disengage it from the hinges. Use your screwdriver set to remove screws if the hinges don’t disengage easily. Timber windows may require removing hinge pins or unscrewing the hinges entirely whilst the sash remains in position.
Step 2: Remove Old Hinges
Using the appropriate screwdriver (flathead or Phillips depending on your screws), carefully unscrew the existing hinges from both the window frame and sash. Take photographs before removal to remember the exact positioning. Clean away any debris, old paint, or rust from the hinge mounting areas using medium grit sandpaper, working in circular motions until the surface is smooth.
Step 3: Prepare the Mounting Surface
For timber windows, use your measuring tape to check if the hinge recesses need adjustment. New hinges might require different depths, so use your chisel set to carefully deepen recesses where needed, or fill shallow areas with wood filler and allow to dry completely. Sand any filled areas smooth before proceeding. UPVC windows typically have standardised mounting points that align with replacement hinges.
Step 4: Position New Hinges
Place your new hinges in position and use a pencil to mark the screw holes precisely. Use your spirit level to ensure the hinges are perfectly aligned both horizontally and vertically. Misaligned hinges will cause binding and premature wear, so take time to get this right.
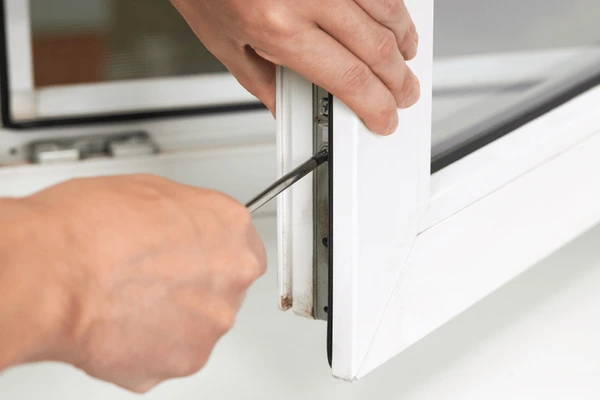
Step 5: Drill Pilot Holes
Using your electric drill with the appropriate sized drill bit, drill pilot holes at each marked point. The pilot holes should be slightly smaller than your screw diameter to prevent splitting timber or cracking UPVC whilst ensuring secure attachment.
Step 6: Secure the Hinges
Using your screwdriver, attach the hinges to the frame first, ensuring they’re firmly secured with all screws tightened evenly. Don’t overtighten as this can strip the holes or warp the hinges. Then carefully reposition the window sash and secure the other half of each hinge using the same methodical approach.
Step 7: Test Operation
Gently test the window operation, checking that it opens and closes smoothly without binding or gaps. If adjustments are needed, use your screwdriver to slightly loosen screws and reposition hinges using your spirit level to maintain alignment.

Choosing the Right Replacement Hinges
Selecting appropriate replacement hinges is crucial for successful window restoration. Measure your existing hinges carefully, noting the length, width, and stack height. Window hinges are typically sized in millimetres for UPVC windows and inches for traditional timber windows.
Consider the weight of your window sash when choosing hinges. Heavy windows require robust hinges with higher weight ratings to ensure longevity and smooth operation. Most suppliers provide weight guidance with their products.
Common Challenges and Solutions
Replacing window hinges can present several challenges. Seized screws often require penetrating oil and patience. If screw heads are damaged, you might need to drill them out carefully. Weather-damaged timber may need repair before new hinges can be properly secured.
For windows that have dropped or become misaligned over time, replacing window hinges alone might not solve the problem. You may need to adjust the frame or consider additional repairs to achieve proper operation.

Maintaining Your New Window Hinges
Once you’ve completed your hinge replacement, regular maintenance will extend their lifespan significantly. Clean hinges periodically with a damp cloth and apply a small amount of light machine oil to pivot points annually. Check screws remain tight and address any looseness promptly.
Professional Window Hinge Replacement Services
Whilst many homeowners and business owners can successfully tackle replacing window hinges themselves, complex installations or valuable windows might benefit from professional expertise. Our experienced team provides comprehensive window hinge replacement services throughout the region, ensuring perfect alignment and long-lasting results. We stock a wide range of hinges for all window types and can handle everything from single residential windows to large commercial installations.
Contact us today for expert advice or professional window hinge replacement services that guarantee quality workmanship and complete customer satisfaction.